Configuring S3 storage for your urbit

Continuing our convention of instructions for running your ship on DigitalOcean (referral), this document will guide you through using DO’s S3-equivalent service with your ship.
Introduction
First a brief explainer – S3 (Simple Storage Service) is a system for storing and retreiving objects in the cloud. The ‘official’ S3 is run by Amazon, but other providers run compatible services – DO’s is called Spaces, and it is built to be interchangeable with AWS S3’s API. You don’t need to be running your ship on DO to use Spaces with it. The provider you use does have support Signature Version 2 (DO does – do a quick check if you’re using another provider).
What does Urbit use S3 for? It’s an easy and reliable way to store files and media for retrieval within the apps in your urbit – for instance, sharing pictures in a chat. If you attach an S3 bucket to your ship, the Chat app will enable an image upload feature. If you want to program software for urbit that makes efficient use of static content, you may be able to imagine a few potential uses; think of it as a giant online hard drive.
Creating a space
Navigate to the DO dashboard and find ‘Spaces’ in the left navigation bar, then click ‘Create a Space’, and select a datacenter. The next option is to enable CDN – content delivery network, a feature that lets you spread your content across regional servers to speed up delivery. It probably is not necessary if you’re just using this for personal file storage, so you can skip this step, but for the sake of completeness we’ll do that too.
Click ‘Enable CDN’, select your domain, and scroll to the bottom of the list of subdomains to create a new A record. Finalize it to create a LetsEncrypt certificate – you should get an email momentarily that the process has completed. Note that creating a subdomain on your own domain is obviously only possible if you already have a domain on a DO droplet, but you will be able to access your media using this new subdomain as well.
An option on this page is whether you want to restrict file listing – I would recommend keeping the default restricted setting, unless you have some specific need to allow anyone to list your objects. Finally, create a subdomain for your space (this will be a subdomain on a DO domain, not your own), take note of it, and submit the form.

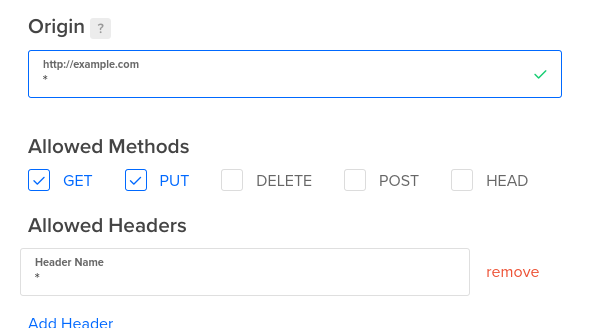
We need to do a little configuration now; click ‘Settings’ under the page header, look for ‘CORS configurations’, and click ‘add’ on the right. We want to add two rules – in the Origin box, put a *; then click ‘Add header’, enter another *. This allows other people to request objects from our bucket. Make sure GET and PUT are enabled, and save.
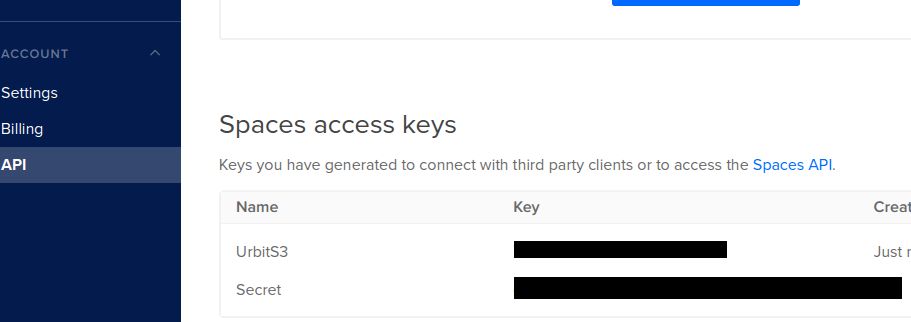
We have one last step before we enable this on our ship – getting our API keys. In the main navigation bar on the left, look for ‘API’ towards the bottom and select it. At the bottom of the page you’ll see ‘Spaces access keys’; select ‘Generate new key’. It will give you two lines of random text – the top one is your access key, and the bottom is your secret key. Think of them as your username and password; do not share them or post them publicly, unless you want strangers abusing your storage.
Ship configuration
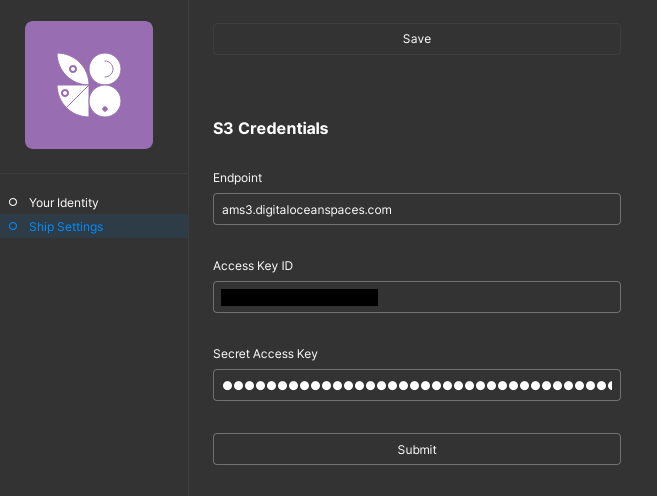
Finally, let’s tell our ship how to use it. Open Landscape, click your name at the top right corner, and scroll down until you see ‘S3 Credentials’:
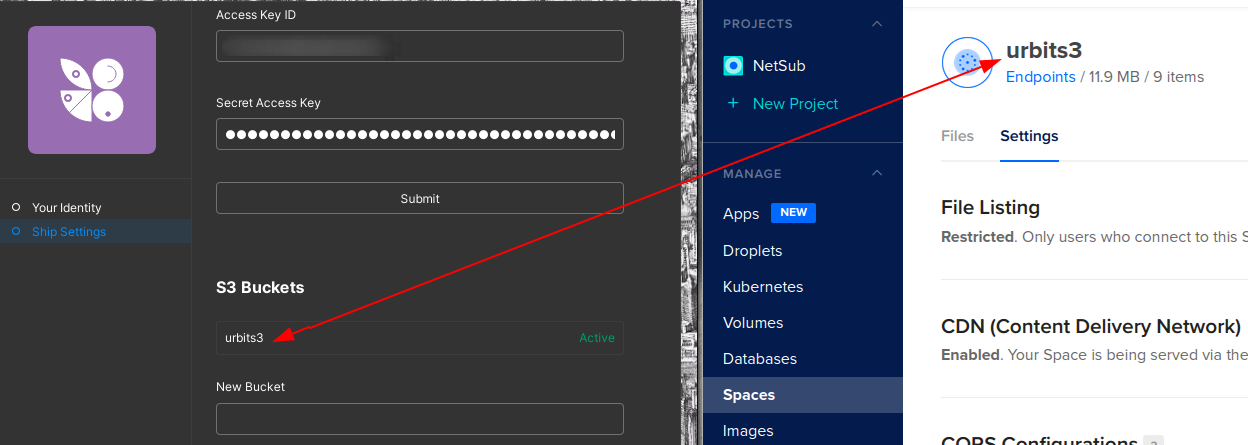
Make sure your S3 bucket name is the same as your bucket name on DO:
Hit save, go to Options -> Activate next to the name of the bucket, and you should be good!
Alternatively, you can enter your credentials in the command line. Let’s proceed to our dojo (CLI or Landscape). Enter the following commands, replacing the variables in single quotes with your own details:
- ~sampel-palnet:dojo> :s3-store|set-endpoint 'ams3.digitaloceanspaces.com'
- ~sampel-palnet:dojo> :s3-store|set-access-key-id 'ACCESSKEY'
- ~sampel-palnet:dojo> :s3-store|set-secret-access-key '5eCrEtK3Y/8L4H8L4H'
- ~sampel-palnet:dojo> :s3-store|set-current-bucket 'bucketname'
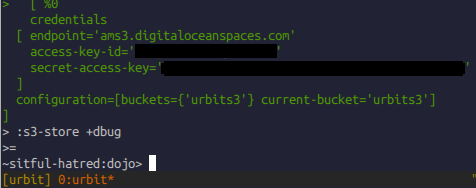
You can print out your stored S3 credentials in dojo anytime using:
- ~sampel-palnet:dojo> :s3-store +dbug
Don’t worry if you don’t see any immediate notification of success; head over to landscape and open a chat. If all went well, you’ll see a little attachment upload icon in your text entry box:
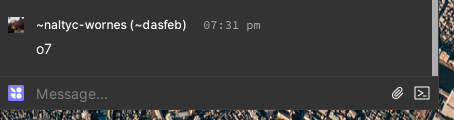
Just click this, select an item to upload; if you did it correctly, you should be able to post images to chats, meaning your urbit has a big fat disk added to it (If you see the image icon but can’t post, double check your CORS settings).
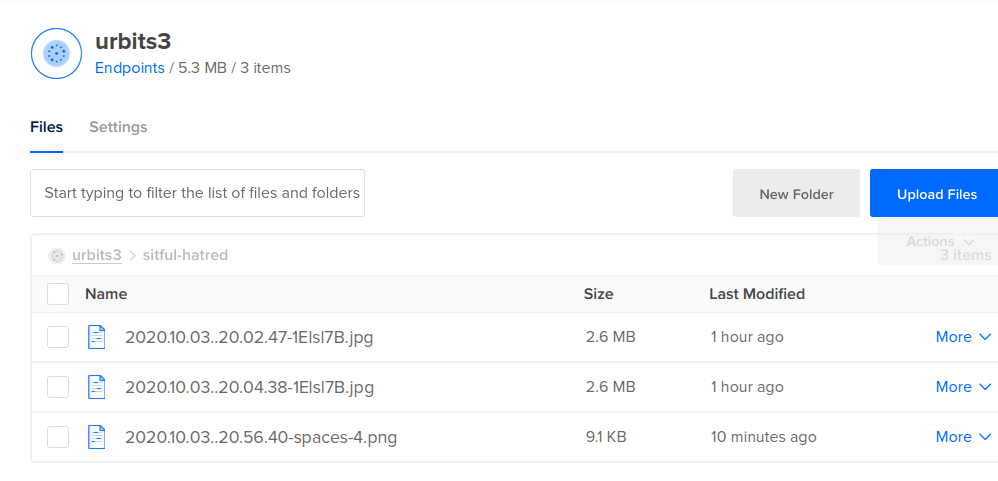
If you want to look through the stuff you’ve uploaded through your urbit, you can go to the management page on your DO dashboard and select the space you’re using. It will give you a directory named after your ship, and inside of that a listing of all files you’ve uploaded, where you can manage them.
This post is also available on Urbit, where you can post comments. Join ~matwet/networked-subject and open the Networked Subject notebook. Boot a free comet or Buy a planet with Bitcoin .
.