Easy Urbit on Windows with Docker Desktop

| Late 2021 Note: This guide is now largely outmoded; Urbit now has official Windows binaries, and Port now has a native Windows installer |
|---|
Introduction
We’ve previously covered a method for running Urbit on a Windows PC, but it could be a little onerous for a novice. Specifically, it still involved a decent amount of command line Linux administration. Fortunately, it turns out there is an easier way to do things; recently, ~botter-nidnul wrote up a guide to running Urbit inside a container with Docker Desktop, and with his blessing I am going to elaborate on it with step-by-step instructions.
Docker is a bit like running a virtual machine – for our purposes, just think of it as a tiny OS inside your OS that exists to run one application (here, also an OS). These are called containers, and they have a few advantages over traditional VMs – notably, they’re very easy to copy to and from other machines, and you can modify their configuration as much as you want without screwing up the host device. If you break something and can’t fix it, you can just delete the container and reinstall it. It’s pretty handy for running web services, and now you can run a ship inside of one without too much setup.
Docker makes use of WSL2, and will be prompted to have it installed before you can use Docker. If you don’t already have it, follow the directions under the subheaders Updating, Enabling WSL, and Installation on our previous tutorial. You will also need to run Docker as a user with administrator privileges on your device.
Installation
In order to get Docker, you’ll need to install the winget Windows tool. It requires the App Installer package in the Windows Store.
After that is installed, head over to Microsoft’s Github and click the download link for the file ending in .appxbundle. This will install winget.
Now open up a command prompt and run the following command:
- C:\> winget install docker
[Note: you don’t need to include the C:\> part – we will use this to indicate a Windows command line.]
Back at the command line, you should see this spin for a minute or two while it installs.

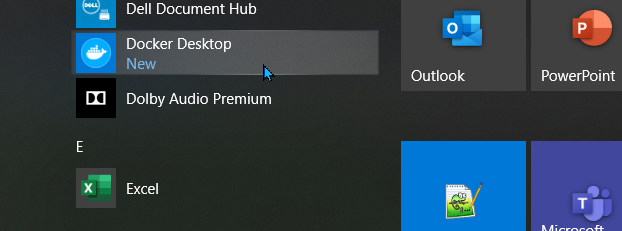
Once it’s completed, restart your computer. When you’re back, open up your start menu and you should see a new entry for Docker Desktop:
Go ahead and open it. Now, return to a command line:
- C:\> docker volume create urbit
Now open up a folder, and navigate to this path by pasting the address into the bar:
\\wsl$\docker-desktop-data\version-pack-data\community\docker\volumes\urbit\_data
Now create an empty file named with the extension .comet – for instance, mycomet.comet. This will tell Docker create a comet with the name mycomet.
The easiest way to create a blank file is to right click an empty spot in the folder, select ‘New’, ‘text file’, and rename the file it creates to get rid of the .txt extension. You will need to enable visible file extensions if you haven’t already:

if you already have a planet and want to boot it for the first time, you can paste the keyfile from Bridge in here instead. If you want to move an existing ship, shut your ship down and copy the pier directory into this folder instead. Either way, I recommend booting a comet first, to make sure everything works right.
Before we boot, let’s forward the port it’s going to use. This will allow your ship to have direct connections with other ships, instead of routing the connections through other nodes.
The Docker image uses UDP 34343 by default – go ahead and forward that port on your router to the device running your ship (make sure it’s UDP!). There’s no single standard way to forward ports on different kinds of routers, but you can find generic instructions here if you have trouble.
Booting up
Open another command prompt and paste the following command into it:
- C:\> docker run -p 80:80 -p 34343:34343/udp -it --restart always --mount type=volume,source=urbit,destination=/urbit --name urbit tloncorp/urbit
You should see the urbit process start up and mine an identity, then download and compile its source code.
That’s it! You’ve booted you ship and are ready to explore the network.
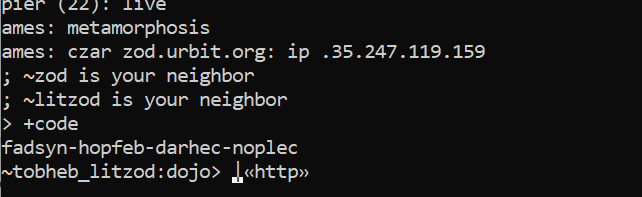
Type +code into the urbit command line, and copy the four word password it generates by highlighting and right clicking.
Open your web browser and navigate to http://localhost:
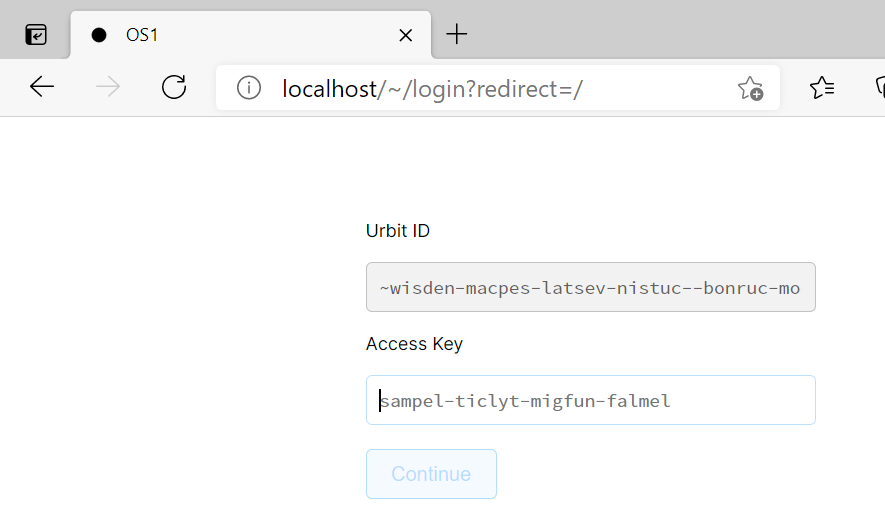
Log in by pasting the password.
If you’re brand new to the network, here are a couple of good groups for beginners to join:
| Address | Description |
|---|---|
| ~bitbet-bolbel/urbit-community | The biggest group on the network, filled with cool resources |
| ~bollug-worlus/urbit-index | Contains a notebook called ‘Directory’ with a list of public groups you can join |
| ~matwet/networked-subject | The group associated with this blog – feel free to say hi, ask questions or give feedback |
Big thanks again to ~botter-nidnul for the original tutorial and his help and feedback with drafting this!
Misc & troubleshooting
-
You can detach from the command line running your ship by pressing
ctrl-p,ctrl-q– this lets you close the command prompt without exiting the process. You can reattach to it withdocker attach urbit. -
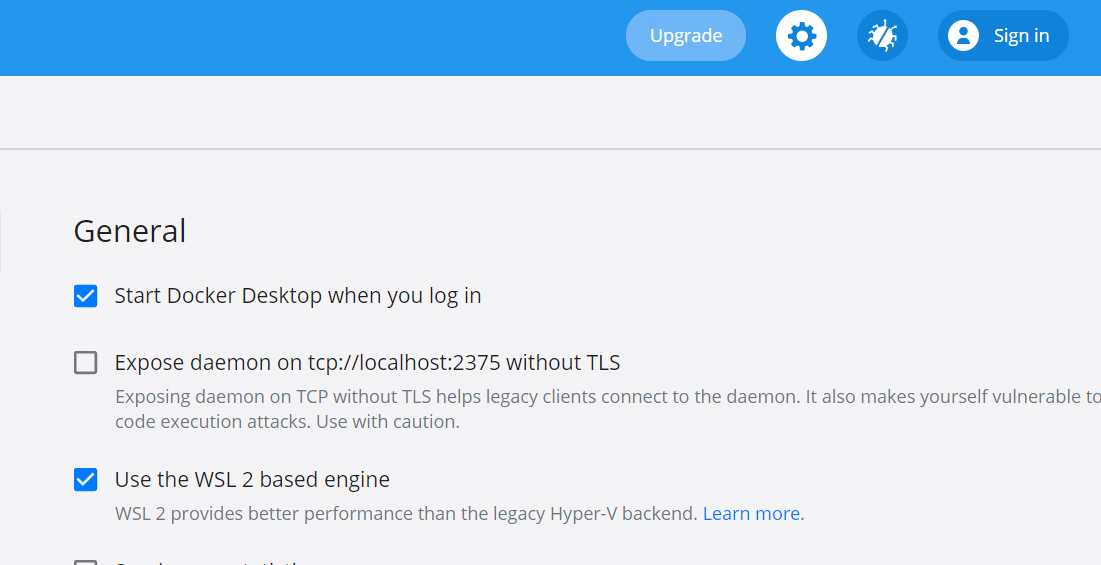
You can tell Docker to automatically run on startup by going to the configuration menu:
- You can install a container for Watchtower that will automatically update your containers for you with this command:
- C:\> docker run -d --restart always --name watchtower -v /var/run/docker.sock:/var/run/docker.sock containrrr/watchtower
- You can turn your container on and off inside the Docker Desktop app:

- If your urbit won’t restart, check out ~botter’s solution for deleting the
.vere.lockfile inside your\urbit\_datafolder.
This post is also available on Urbit, where you can post comments. Join ~matwet/networked-subject and open the Networked Subject notebook. Boot a free comet or Buy a planet with Bitcoin .
.